MiraJax Best Be Believing Music Video

MiraJax Best Be Believing Music Video:

MiraJax- Best Be Believing

Front and Back Digipack

Front and Back Digipack

Inside Digipack

Inside Digipack
Inside Digipack


Please click this image to enter our website

Friday 16 December 2016

Construction Post 6: Editing our Video

Editing our music video was a huge task that we started in week three of construction. To edit our video we used Adobe Premiere Pro and I enjoy using this programme as it is simple to make your video look as professional as possible.

EDITING OUR NARRATIVE FOOTAGE
The first thing we edited was our narrative footage as we shot this before our studio footage. We started by renaming all our shots and removing any takes we knew we would not be using. When planning our narrative we had previously written on a sheet of our song lyrics where different shots would be place in the song:

The lyrics with our planned shots next to them

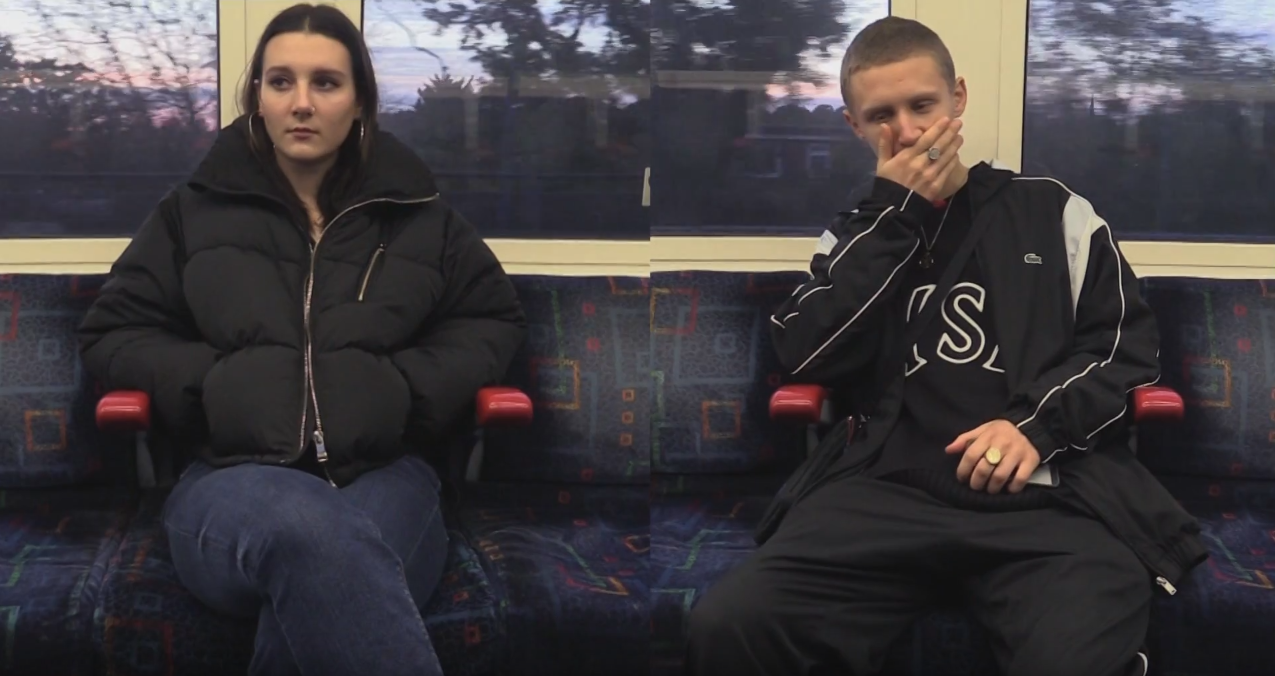
As we had done this we were able to crop our shots by setting new start and end points and drag them onto the timeline with the correct lyric.

The next task was to create the split screens for all our shots and we did this by using the crop tool to make the shot smaller and changing the position to fit two shots onto the screen at the same time.
Position change tool

Crop tool
An example of our split screen.
We increased the pace of one of our shots to give it the effect of a time lapse as seen below:


via GIPHY

EDITING OUR STUDIO SHOTS
The next stage was to edit in  our studio shots between our narrative footage. When we began to do this we found that editing our shots to fit with the lyrics did not look that good, so we decided as a group to edit the shots to the beat of the song instead which looked more professional.
In our video we use a lot of fast paced editing to go along with the fast beat in our track:


via GIPHY

We were able to be more creative when editing our studio shots as we had not specifically identified what shots we wanted to go where. Therefore I personally spent some time making some sequences with quick cuts to the beat between our different coloured set ups and I am proud of some of the results I had:

TEACHER FEEDBACK
At this stage in our edit we showed our sequence so far to our teacher and in her feedback she said she would like to see more variety in our editing, for example in the bridge section we should use a slower editing pace with more variety of transitions.

We created this grid sequence using the crop tool to add some variety:


To create the sliding shots as seen in the gif above I used key frames so that the shots would slide across the screen after each other:
The key frames I added to change the motion of the shot.
We also added some cross disolves between shots to slow the pace down:

Use of cross disolve in our video
GRADING OUR SHOTS
The final stage after we had edited our sequence together was to grade our shots to make the colours more vibrant. I played a large role personally in grading our shots.
To begin with we used two tools, the three way colour wheel and adjust brightness and contrast.

However after grading our shots with these tools they did not give us the effect we wanted, it was hard to make the background as vibrant as we wanted without making the actors skin appear a strange colour. We also showed our video at this point to Josh aged 17 who is a member of our target audience and he said "The colours are good but they arent as vibrant as I would have liked. Maybe you can make the backgrounds bolder."
After speaking to our target audience and receiving some help we went about our grading in a different way using the levels and brightness tool to grade our shots. This gave a much more professional result making the colours much richer and the shots appear less flat.
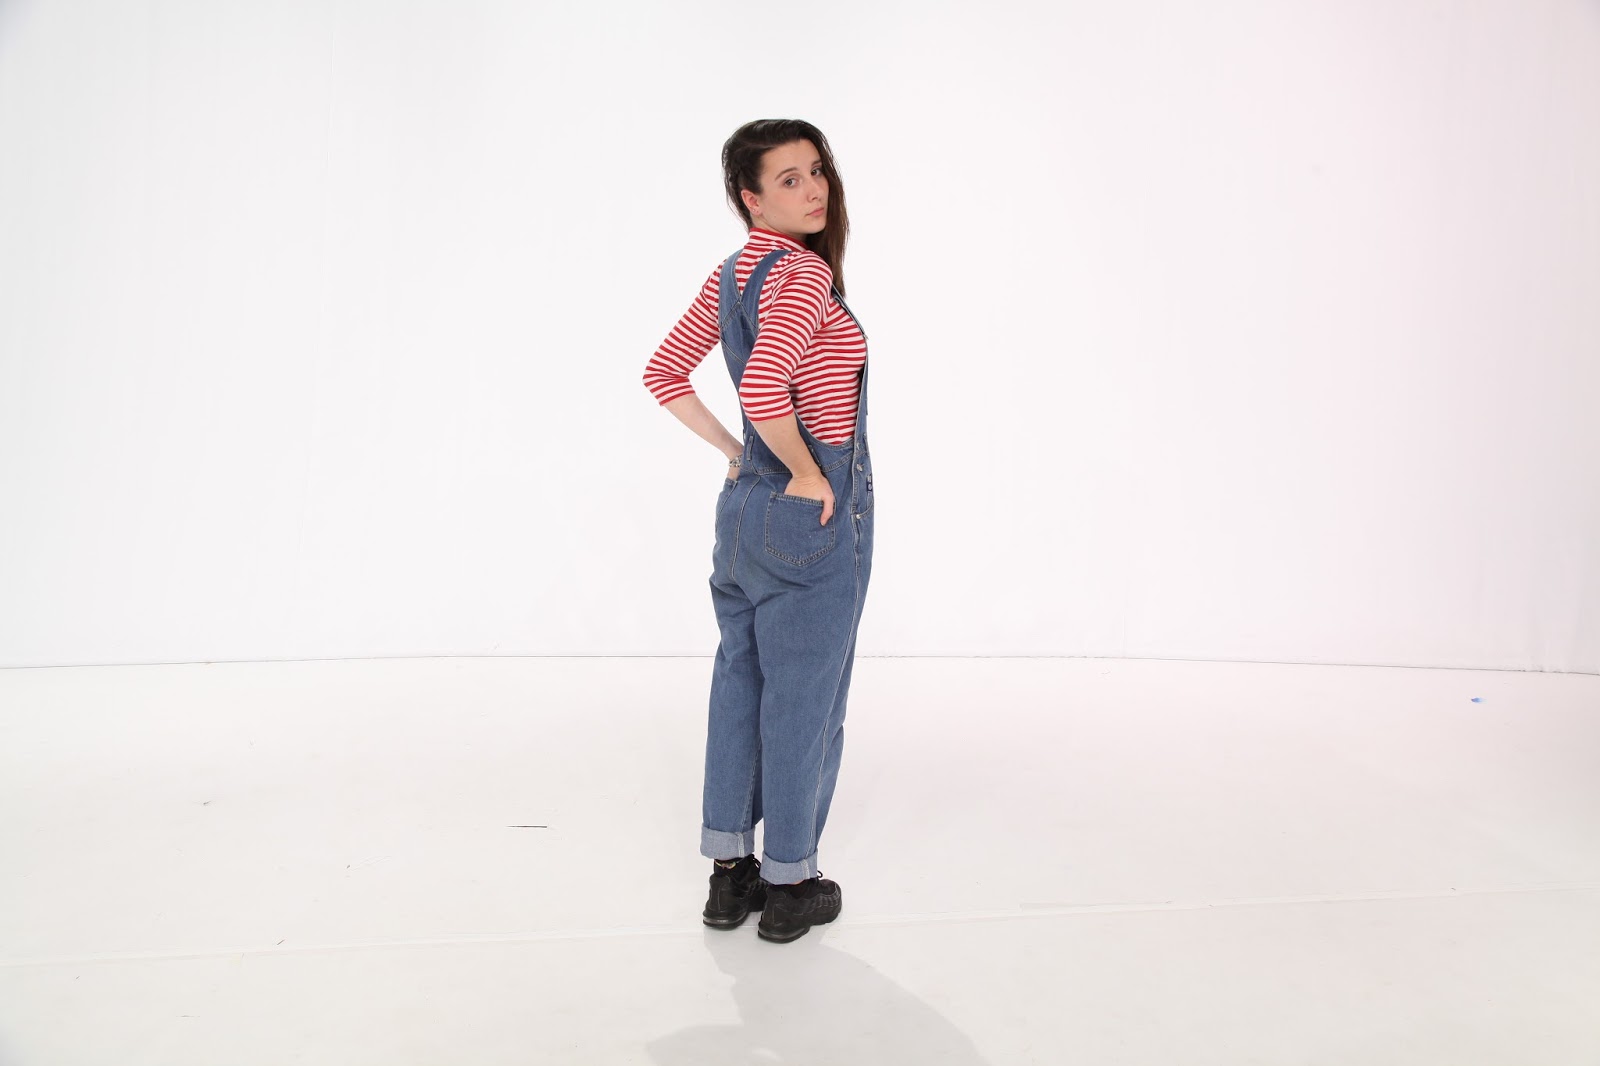
Non- graded image
Graded image
After grading our video was finished, and as a group we were extremely pleased with the finished project and how far our video had transformed since the rough cut. 

Construction Post 5: Shooting our Studio Footage

We began filming our studio footage in the Seward Studio at our school on the week beginning Monday the 21st November. Prior to this shoot we had created a detailed shoot schedule of when we were shooting during the week:
 Our shoot schedule was also colour coded to our different set ups. We have three different lighting and props set ups, white, pink and blue, and we also left room for pick ups and taking promo shots at the end of the week. 

MONDAY
The plan for Monday was to shoot our white set up. At the beginning of the day we began by setting up the lighting, which was easy as all the lights were white, placing the balloons and boxes in the right place in our set up and getting Ella's hair and makeup done.
Our finished white set up.
Here is a clip showing Ella's finished hair and makeup look and Eleanor adjusting her hair during the filming session:

We closely followed our shoot schedule for the Monday which helped us get all the shots we had planned.

Mondays shoot schedule

During shooting it was important to always make sure our shots were focused and we did this on the camera by zooming in and focusing the camera on their eyes.


Eleanor experimented on Monday with the dolly, this was the first time our group had used it and after a while we managed to get a smooth dolly shot around our actors heads:

TUESDAY
On Tuesday we shot our blue set up. As we had on Monday we started by setting up our lights, as we had already created our blue lighting set up in our test shoot and saved it to memories on the lighting desk, this was easy to do. We also scattered blue petals as our props and our blue set up was ready to start shooting:


We then helped Ella do her makeup, we used bright blue colours to match the set up:
Ellas hair and makeup
After the success of Mondays shoot, we felt more confident using the dolly during Tuesdays shoot and got a lot of exciting footage using it which can be seen below:


We wrapped up Tuesdays shoot day with some reflections:

WEDNESDAY
Wednesday was the final set up; pink. The pink lighting which we had saved from the test shoot and our pink lollipops made the overall set up for pink look extremely effective as seen below:

We spent a long time on Ellas hair and makeup on this day and the results were very effective, I was pleased with the styling for this set up:


We worked extremely quickly on Wednesday as we were used to using the camera and shotting quickly. Therefore we had more time at the end of the day to experiment with different framing and shots, we came up with some origional ideas as a group and I personally shot some of the extreme close ups used in our video, as seen below:


THURSDAY AND FRIDAY
As our first three shoot days ran so smoothly, after reviewing our footage we had taken so far, we realised we did not need to shoot any pick-ups over these two days. Therefore this time was dedicated to taking our promo shots.

Overall I believe our studio shoot was successful and we managed to get all the shots we had planned and more. 

Construction Post 4: Shooting our Narrative

We all went as a group along with our actor, Jack, on Monday 24th of October to film our narrative footage. As we had already carried out our test shoot we knew that our locations, Finsbury park and Alexandra Palace worked well. However we found that the outfit we planned in the test shoot didnt fit the look we were going for and so we changed it to a new outfit:

Old Narrative Outfit

New Narrative Outfit.

We followed our newly revised shoot board which we had improved after our test shoot, and took our shots in a logical order by location, meaning the shoot went very smoothly and we were able to get all our shots done in time.

Our new shoot board we used for our narrative.

We started the shoot day at Ella's house where we were going to film the opening to our music video- the argument scene. From our test shoot we had found this difficult to film and had problems with continuity as you can see in the gif below.


via GIPHY

Therefore we tried out a few different ways of filming the argument scene, trying one long continuous shout with camera movement and with breaking it into two shots starting from different places with the plan to chose which one worked better when editing our video.

We then traveled together to Southgate station where we filmed the shots on the escalator first. We began by filming these shots without the light attached to our camera as we thought the station was well lit, but after testing it out with the light on we found this looked much better and we decided to use the light for the rest of our shot.

The type of light we were using on our narrative shoot


During the day, although we followed our planned shoot schedule closely and took all the shots we had plan prior to the shoot, we also experimented with some different shots, for example this junction shot which worked well in our final video:


via GIPHY

Overall our narrative shoot day went very smoothly and we managed to shoot high quality footage, I think good organisation of shoot schedules and call sheets were the reason the day was so successful.

Construction Post 3: Producing our Digipak

We produced our four digipak panels using photoshop to combine promo shots, text and images. We were given a photoshop template to use. All text had to stay within the green area and images had to blend over to the red areas:


FRONT PANEL
We first added the focal image to our front panel which is the two close ups of Jack and Ella:


We used the quick selection tool to and refine edge tool to get rid of the background, the skin smooth tool to make their skin flawless, and brightness adjuster tool to alter the colour of their eyes and make them more vibrant.


We cropped and re-aranged the two faces into a split screen which is synergistic with the use of split screens in our music video:
Split screen on our front pannel

Split screen in our video
 We added the album title and artist name using the same font as we used in our website, Asgalt. We added text effect- the pink shadow on the artist name in order to make it stand out from the background.


BACK PANEL
For our inside panel we had originally planed to have the same images as the front panel as seen in our flat plan:

However after showing this to our teacher, she advised that this appears to be repetitive and the back panel doesn't leave enough space for the track names. We had also shown this flat plan to Emma, a 17 year old member of our target audience who agreed the front and back panels were too repetitive. Therefore we decided to chose one of our promo shots to use on the back panel which had space to write track names around and these were the options:


We eventually chose the photo of both Mira and Jax as we didn't want to focus to be just on Mira.

For the background we wanted to use a photo we had taken ourselves at God's Own Junkyard but we also wanted to manipulate it in photoshop to make the colours in the photo pop more. We used:
  • Colour Balance Tool to alter all the colours in the photo, changing the look of the photo completely. 

  • Levels Adjustment Tool to change the tonal range of the image.

  • Altered the saturation to make the colours more intense. 
This shows the images before and after they had been photoshopped


INSIDE PANEL
For our inside panel we wanted to use one of the shots of Mira and Jax at God's own Junkyard so that there was synergy between the front cover and the inside panels. The photo we chose to use was:


We wanted to adapt the photo to make the lights look brighter and more vivid. We used the same photoshop tools as we used on the front panel.
Inside panel before and after photoshop.


Construction Post 2: Producing our Promo Shots

Taking professional and sleek promo shots of our artist was important for both our website and album cover and for promoting our artist. We need to have a large variety of promo shots in order to excite and appeal to our target audience.

LOCATION PHOTO SHOOT

We wanted to take some shots on location rather than in the studio. We had already planned to shoot our shots and God's Own Junkyard in Walthamstow:


We all went to Gods Own Junkyard on 18th November with a DSLR camera and shot a variety of promo shots of our artist using poses and framing inspired by our previous research into promo shots;


STUDIO PHOTOSHOOT

We knew for the studio shots we needed a variety of outfits and looks to give us enough variety. We therefore planned three outfits for both Mira and Jax:

We then set up in the seward studio at our school and used the plain white background to shoot our promo shots in front of. We also used props such as a sofa and a stool in some of our shots.


We then wanted to add even more variety in our shots and so used the lighting desk in the studio to create green coloured lighting:


EDITING OUR PROMO SHOTS

Before our promo shots went on our website we had to edit them on photoshop to make them look more professional.


  • Quick selection tool and refine edge tool on shots with a white background to remove the background. 


  • We used the skin smooth action on Mira and Jax faces in order to make their skin look flawless.